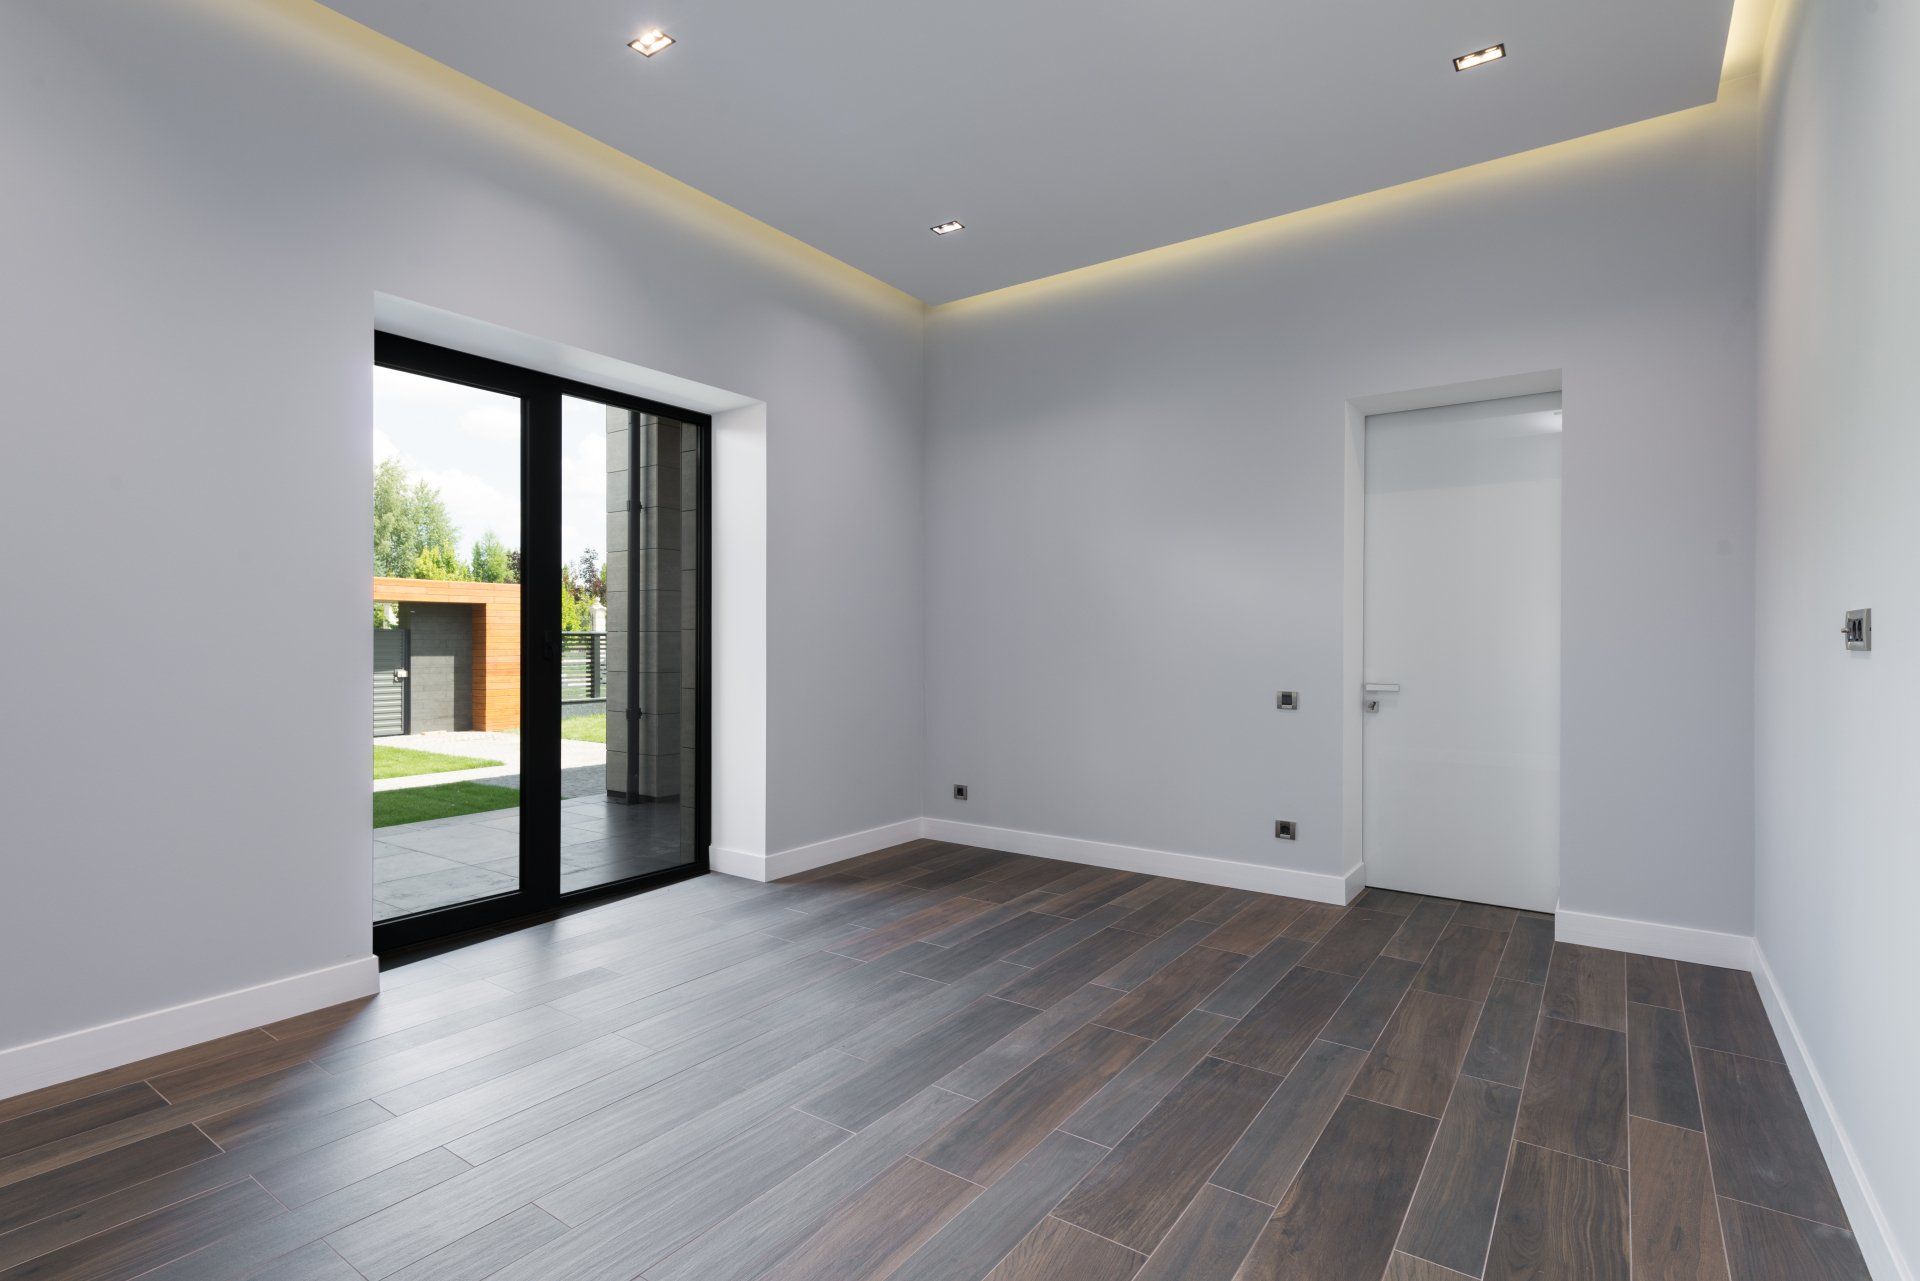
Laying laminate flooring is a manageable DIY project if you follow the steps carefully. Here’s a guide to help you through the process:
**Materials & Tools Needed:**
- Laminate flooring planks
- Underlayment (if not pre-attached to the flooring)
- Spacers
- Tape measure
- Utility knife
- Miter saw or laminate cutter
- Pull bar
- Tapping block
- Hammer or rubber mallet
- Jigsaw (for cutting around obstacles)
- Pencil
- Straight edge
- Safety gear (gloves, eye protection)
**Step-by-Step Guide:**
**1. Prepare the Subfloor:**
- **Clean the Subfloor:** Ensure the subfloor is clean, dry, and level. Remove any debris, nails, or staples. If there are any dips or high spots, level them out with a leveling compound or by sanding.
- **Check for Moisture:** Ensure the subfloor is dry. For concrete subfloors, use a moisture barrier if needed.
**2. Acclimate the Laminate:**
- **Acclimate the Flooring:** Let the laminate planks acclimate to the room’s temperature and humidity by leaving them in the room for at least 48 hours before installation.
**3. Install the Underlayment:**
- **Roll Out the Underlayment:** If your laminate does not have an attached underlayment, roll out the underlayment across the subfloor, ensuring it covers the entire area. Tape the seams together as needed.
- **Trim Excess:** Cut off any excess underlayment that extends up the walls.
**4. Plan the Layout:**
- **Measure the Room:** Determine the direction you want the planks to run. Usually, it looks best when laid parallel to the longest wall or towards the light source.
- **Calculate the First and Last Rows:** Measure the width of the room and divide by the width of a plank. Adjust the first row so the last row will be at least 2 inches wide.
**5. Install the First Row:**
- **Start with Spacers:** Place spacers between the wall and the first row of planks to allow for expansion (typically 1/4 inch).
- **Lay the First Plank:** Lay the first plank with the tongue side facing the wall.
- **Continue the Row:** Connect the next plank’s tongue into the groove of the first plank. Use a tapping block and mallet to ensure a snug fit. Continue until the first row is complete.
**6. Continue Laying the Planks:**
- **Stagger the Joints:** Start the next row with a plank cut to about 1/3 or 1/2 of a full plank length to stagger the joints. This creates a more stable and visually appealing floor.
- **Lock the Planks Together:** Insert the tongue of each new plank into the groove of the plank from the previous row, angling it slightly and then laying it flat. Use a tapping block to lock the planks together tightly.
**7. Cut Planks as Needed:**
- **Cutting for Obstacles:** Use a jigsaw to cut planks to fit around obstacles like doorways or vents.
- **Trim the Last Row:** If the last row is narrower than a full plank, measure the width needed and cut the planks to size lengthwise using a saw.
**8. Finish the Installation:**
- **Install the Last Row:** Use a pull bar to fit the last row of planks tightly into place. Ensure spacers are in place.
- **Remove the Spacers:** Once all the planks are installed, remove the spacers from around the perimeter of the room.
- **Install Molding/Trim:** Cover the expansion gap with baseboards or quarter-round molding.
**9. Final Touches:**
- **Clean the Floor:** Wipe down the floor to remove any dust or debris.
- **Enjoy Your New Floor:** Your laminate flooring is now installed and ready to use!
**Tips:**
- **Maintain an Expansion Gap:** Always leave a gap around the perimeter of the room to allow the flooring to expand and contract with temperature changes.
- **Work Carefully:** Take your time cutting and laying each plank to avoid mistakes.
- **Check for Damaged Planks:** Inspect each plank before installation to ensure it’s not damaged or defective.
By following these steps, you should be able to successfully install your laminate flooring!


